martes, 3 de marzo de 2015

Horse body and Dreadlocks done

Hello, I've been the last couple of days working on the horse body and dreadlocks, and finally they're done.

Horse Body

I used the same way for the horse's hair parts that I made on the elbow´s fur. Firstly adding mesh and shape of the differents lock of hair using the Clay_BuildUp brush. On the last subdivision, for the fine detail, I used Rake and Slash3 brushes and I've got a similar form what I was looking for. On several parts I used some fur alphas mixing the skin with the hair. I modified a bit the muscles on the front legs and chest, to give the creature more realism, and I added some skin detail as well. Some pictures:


Dreadlocks

The last part of the creature was doing the dreadlocks. Based on the concept I did one dreadlock and I added detail using Inflate Move and Clay_BuildUp brushes and some alphas. When I finished the first dreadlock I did several  copies and I used the Move brush to create the whole hair. At the end I put some detail on the head for mixed with the dreadlocks. Some picture here:


viernes, 27 de febrero de 2015

Human Torso, Face and Hands done

Hello, I've just finished all the human shapes and details in High Poly, I mean, the torso, face, arms and hands. Main brushes used, Standard with several alphas, Clay_BuildUp, Slash3, Smooth, Move and Rake.

For extract the main base details I used the Clay_BuildUp brush, and I used with a point alpha for make the texture of the skin. For fine details and thin carve or scratches I used Slash3. The veins was made it using the standars with a square Alpha and then smoothly I gave them several coats and inflated with the InFlate brush. Here some pictures:


jueves, 26 de febrero de 2015

Elbow's Fur and Trunk Belt done. Adding detail on face and human body shape

Hello. I finished last week the detail  of several parts of the centaur.

Elbows' Fur and Trunk Belt

The fur on the elbows and the Pelvis' protusion like a trunk belt.

I have several difficulties to create and sculpt a believable fur. At the first time I started with one of the brushes (SnakeHook_Brush) extracting mesh with the shape of hair mass, with the idea of adding the detail like a fine hair. I used the Clay_BuildUp brush to adding detail, but I didn't get the form that I wanted, regarding the concept art. Because I haven't got enough deatil on the mesh to create fine hair, even a huge subdivisions. So, I redid almost everything (till the hair mass shapes) and I used the Dynamesh tool each time that I added more detail or deform the shape. Then, when I've got the base shape that I was looking for, with some hair masses detailed I started adding subdivisions and I could use some brushes for make the hair detail on the mesh (Rake and Slash3 brushes).

For elbows' trunks I used the technique such as the trunk's legs. When I finished the shape and detail for the trunks, then I used the Move brush to Blend the trunks and interlaced them. And the trunk belt was similar process. aT the end I added some detail on the mesh with alphas like wood carving.

Here, some of the screenshots:


Adding detail on Face and Human Body Shape

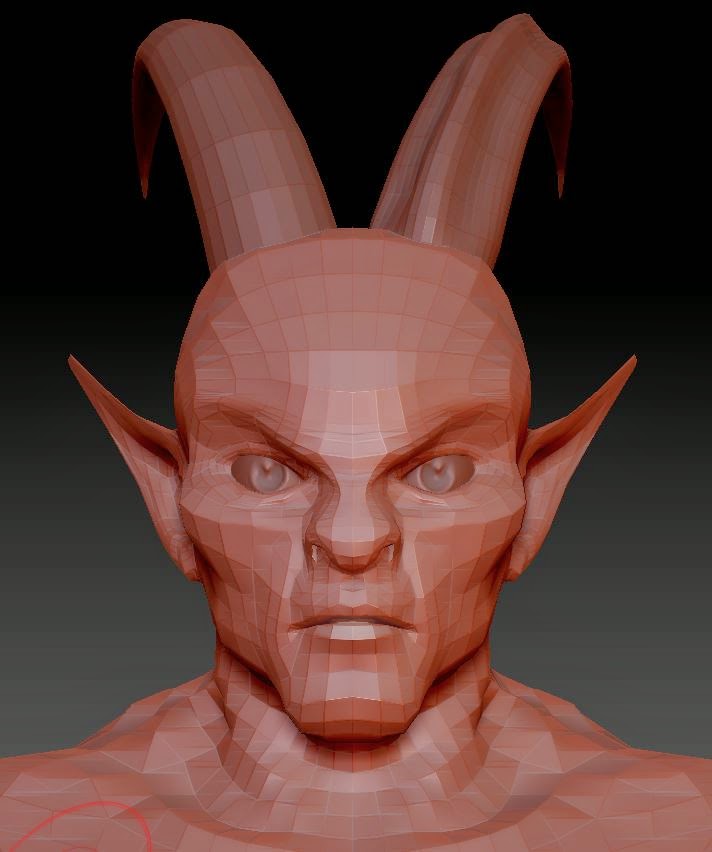
I've been adding more detail on the face and human body last few days. The face was very smooth, without much detail and I wanted to give the creature more realism and better appearance. I started adding some lines and bulges with the Clay_BuildUp brush, and then using the Smooth Brush, to soften up some parts of the face. I didn't use the symmetry all time to make difference between each side of the face (like a real face or head) to give him more realism. I used a similar way for the rest of the body to give him a roughness skin. Now I will go on in this way to the final detail, and then I'll add the detail on the horse body. More pictures:



viernes, 13 de febrero de 2015

Frontal Trunk-Legs and Horns done

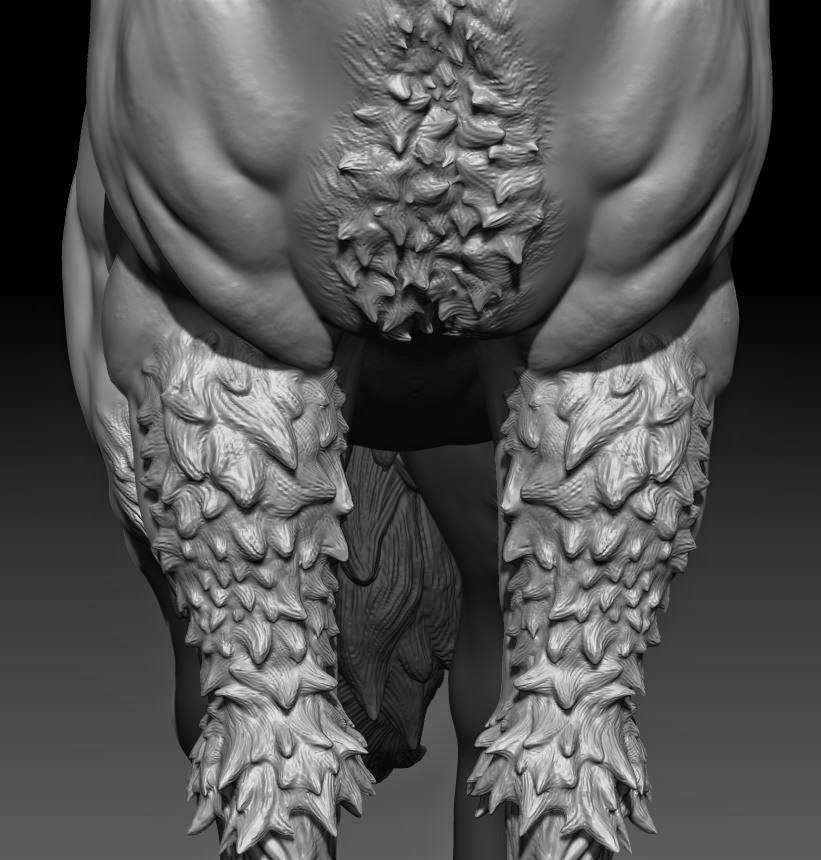
Hello, I've just finished the frontal trunk-legs and horns, so right now I only have to end to adding detail into the main body and sculpt some fur as well. Here, some of the pictures with the detail:


miércoles, 11 de febrero de 2015

Adding detail on the Centaur High Poly

Hello, I'm going on adding detail on my creature. Right now I have the majority of musculature fitted (human and horse body) and just I have to keep putting more fine detail on body and face. I almost finished the frontal legs with the trunk section. And after all that detail fixed I'll start adding the fur detail (not fibermesh, just hair detail that I could use for make a Normal Map for the Low Poly version). I would like to finish the high poly version in a couple of days, just keep working. Some of the pictures:


Frontal Legs, Trunk detail WIP


viernes, 6 de febrero de 2015

Using the basemesh to modelling into my design in High Poly WIP

Hello, I've used the basemesh that I did before in Zbrush for start modelling the final design of my Fantasy Creature. It was a bit complicated, especially on the frontal legs, because I was confused on the part where the legs become a root or trunk-leg.

I wanted to make that part of the leg like if was a bone transformed into trunk or root with the shape of the leg. Firstly on the concept I put the Radius and Ulna just in the lower part of the frontal leg, below where I thought it was the knee, and the bones become into trunks or roots for make the design merged into a Forest Creature. But when I try to find how is the original bone in horses for make the 3D model I was confused because I couldn't find the Radius and Ulna on the same point. After make a new research about horse anatomy I found that the Radius and Ulna are over the bone-roots in my design, these bones are the metacarpal. Horses has 3 metacarpal instead of five like humans, as you can see in the picture.

The original concept was wrong

Horse frontal leg bones


Then I started using my basemesh for the Centaur and using the concepts, and the side view for make the shape of my design.

The basemesh on the left, my design on the right


Using the concept as a texture in Zbrush for modelling the shape of the Centaur


Some screenshots of the First level of detail of the Creature. Now I will start adding more detail on the figure on the next few days and start the next week with the Retopology and Texturing.


jueves, 29 de enero de 2015

Final Design

Hello, long time since the last post. I'm so sorry, I was very busy those last weeks, doing more material for my Final year Project and the rest of the moduls, so I delayed a little on my project but I'm working hard again and I have several stuff for post. Finally I have the final design for my creature, the Centaur. I used one of the sketches and I went one step beyond adding more details and drawing an interesting figure and is ready to work on the 3D model. Next week I'll add the color for the design, but right now is enough for make the 3D model. These are some of the steps for the concept art:

Different sketches for the basic shape of the Centaur, I chose to work on the second form
Basic Lines
2 different basic shapes ready to put details

Final Design of the Centaur

Centaur, Side view
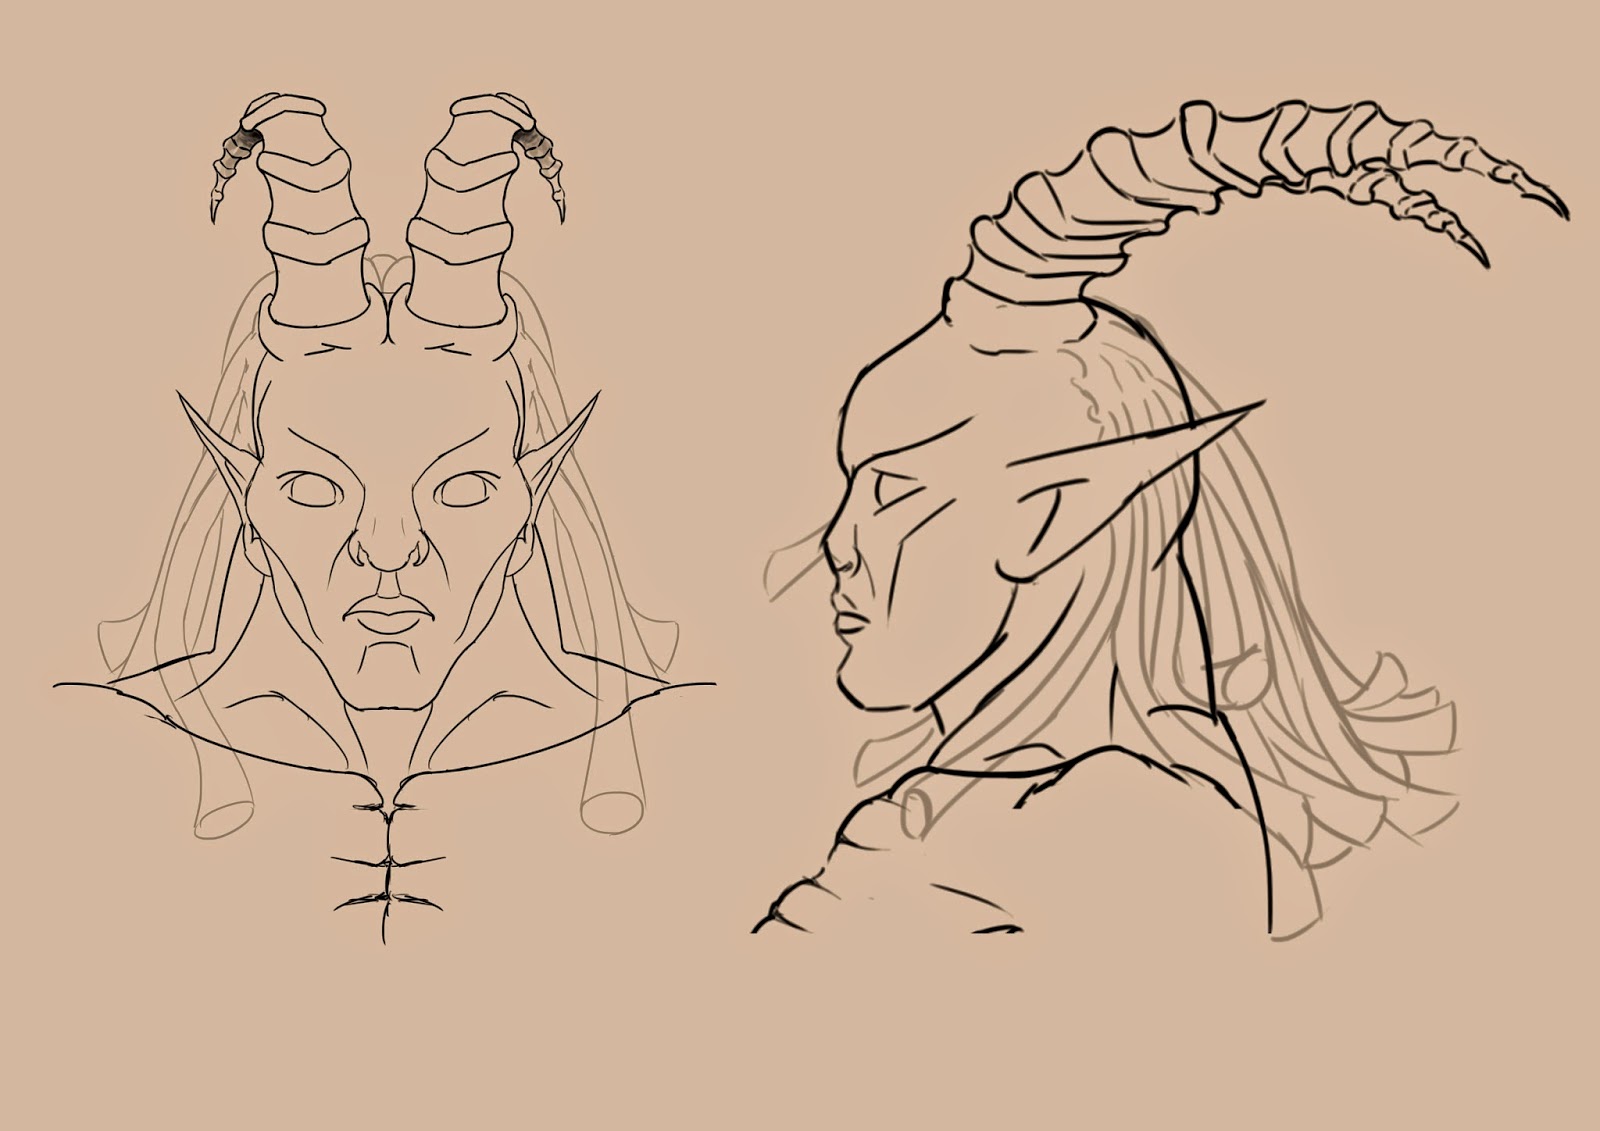
Centaur, Face