Aleix Merlos' Fantasy Creature Character
jueves, 30 de abril de 2015
miércoles, 29 de abril de 2015
viernes, 6 de marzo de 2015
Texturing the Centaur, using PolyPaint on Zbrush
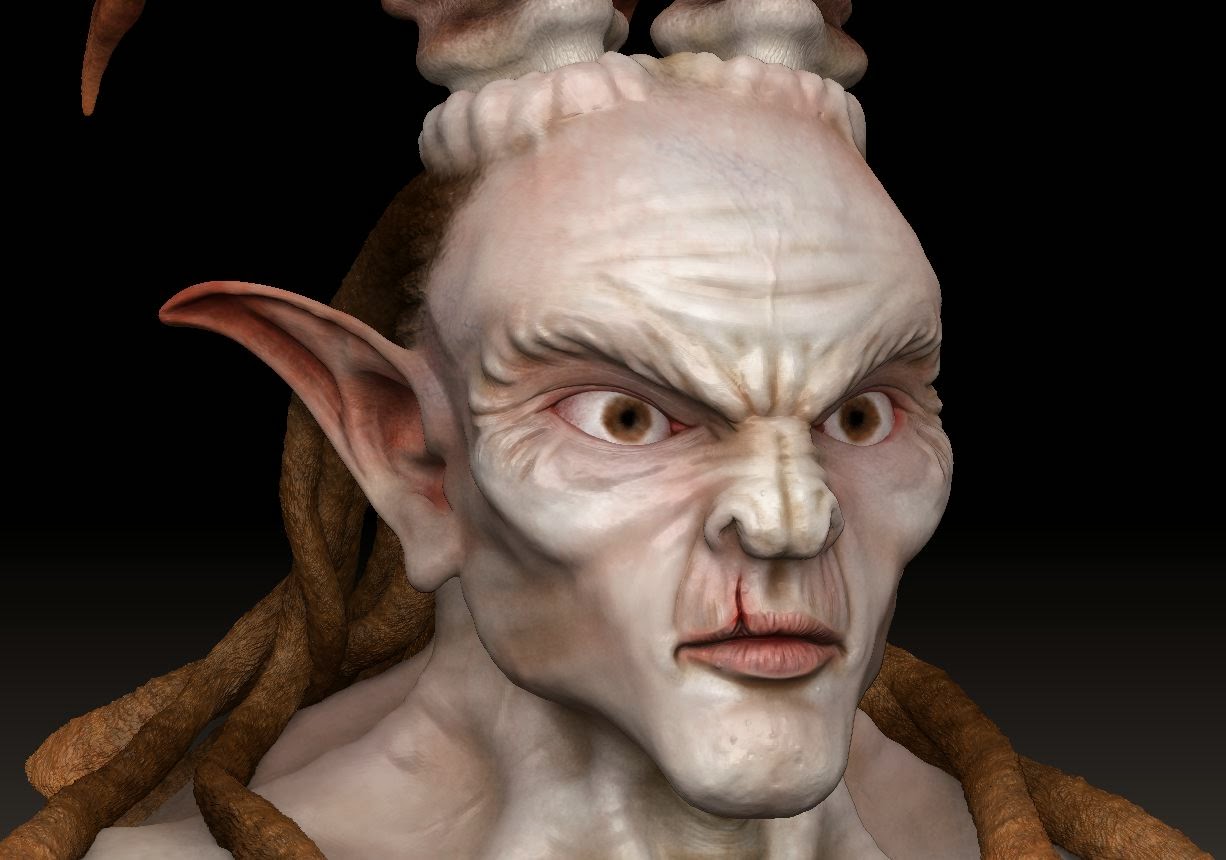
Hello. I've already finished texturing the Centaur, using the PolyPaint tool on Zbrush. Firstly I started with a coat base adding the base colors on the different parts of the body. Then I added more and more detail, lights and shadows, mixing colors to create a realistic skin.
One of the most harder parts for texture was, as I expected, the fur. I used several ways, using the base colors, lights and shadows, and at the end I used 2 alpha pictures (one in greyscale and the other in color) and I put at the same time detail and color on the horse skin. I have to make several attempts to get a color and form as I wanted for the whole fur.
For trunk parts I used the NoiseMaker tool using a picture of a bark. The same way like the fur I added more detail and color into the body trunk's parts, and added some lights and shadows to conclude it. These are some Render in Zbrush of the Centaur in High poly and colored:
Centaur Low poly Mesh get done
Hello guys, I've just finished the low poly mesh for the Centaur. The Unwrap is done as well and it's ready for texture it. The polycount is 24.009 Tris and I wanted to have a mesh between 20.000 and 30.000 of polycount, so I've got it. Here some pictures of the Low-poly version:
martes, 3 de marzo de 2015
Centaur High poly mesh get done
Hello, I've just finished the whole Centaur high-poly mesh. I used some fur alphas in the horse body to create the horse skin with a lot of fur, based on the original concept. It's ready now to make the retopology and texturing. I will use the Polypaint on Zbrush because it will be easier to do a realistic and very detailed Diffuse Map texture. These are several pictures with the whole creature done:
Horse body and Dreadlocks done
Hello, I've been the last couple of days working on the horse body and dreadlocks, and finally they're done.
Horse Body
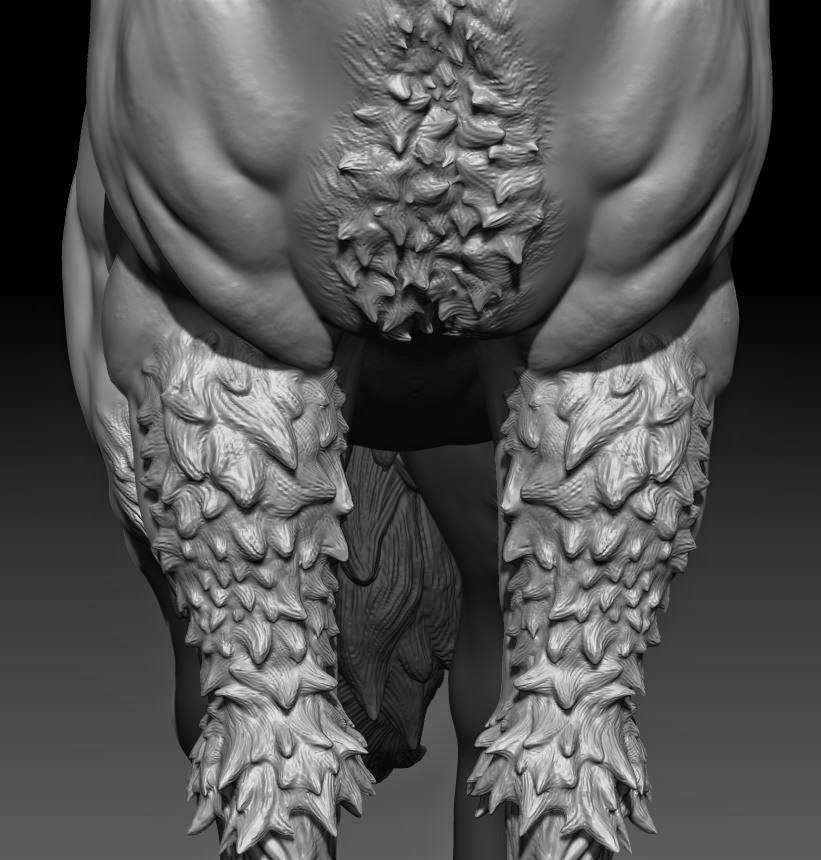
I used the same way for the horse's hair parts that I made on the elbow´s fur. Firstly adding mesh and shape of the differents lock of hair using the Clay_BuildUp brush. On the last subdivision, for the fine detail, I used Rake and Slash3 brushes and I've got a similar form what I was looking for. On several parts I used some fur alphas mixing the skin with the hair. I modified a bit the muscles on the front legs and chest, to give the creature more realism, and I added some skin detail as well. Some pictures:
Dreadlocks
The last part of the creature was doing the dreadlocks. Based on the concept I did one dreadlock and I added detail using Inflate Move and Clay_BuildUp brushes and some alphas. When I finished the first dreadlock I did several copies and I used the Move brush to create the whole hair. At the end I put some detail on the head for mixed with the dreadlocks. Some picture here:
Horse Body
I used the same way for the horse's hair parts that I made on the elbow´s fur. Firstly adding mesh and shape of the differents lock of hair using the Clay_BuildUp brush. On the last subdivision, for the fine detail, I used Rake and Slash3 brushes and I've got a similar form what I was looking for. On several parts I used some fur alphas mixing the skin with the hair. I modified a bit the muscles on the front legs and chest, to give the creature more realism, and I added some skin detail as well. Some pictures:
The last part of the creature was doing the dreadlocks. Based on the concept I did one dreadlock and I added detail using Inflate Move and Clay_BuildUp brushes and some alphas. When I finished the first dreadlock I did several copies and I used the Move brush to create the whole hair. At the end I put some detail on the head for mixed with the dreadlocks. Some picture here:
viernes, 27 de febrero de 2015
Human Torso, Face and Hands done
Hello, I've just finished all the human shapes and details in High Poly, I mean, the torso, face, arms and hands. Main brushes used, Standard with several alphas, Clay_BuildUp, Slash3, Smooth, Move and Rake.
For extract the main base details I used the Clay_BuildUp brush, and I used with a point alpha for make the texture of the skin. For fine details and thin carve or scratches I used Slash3. The veins was made it using the standars with a square Alpha and then smoothly I gave them several coats and inflated with the InFlate brush. Here some pictures:
For extract the main base details I used the Clay_BuildUp brush, and I used with a point alpha for make the texture of the skin. For fine details and thin carve or scratches I used Slash3. The veins was made it using the standars with a square Alpha and then smoothly I gave them several coats and inflated with the InFlate brush. Here some pictures:
Suscribirse a:
Comentarios (Atom)


